How to perform CPR on a child
For the purposes of first aid and resuscitation, a child is described as a person aged from 1 year to 18 years. If you see a child collapsed or unresponsive, you should follow these steps
Step 1 – Assess any dangers to yourself and the casualty. Move items if necessary to make the area safe.
Step 2 – If safe to approach the casualty, assess the casualty’s response levels by gently shaking the shoulders and shouting ‘’Are you all right?’’ If there is no response and the casualty does not move, talk, or open their eyes, shout for help.
Step 3 – To open the airway, place one hand on the casualty’s forehead and tilt the head back gently. Place your index and middle fingers of your other hand onto the casualty’s chin and lift. This will lift the casualty’s tongue from the back of their airway.
Step 4 – Place your ear over the casualty’s mouth and nose, to listen and feel for breathing. At the same time, look at the casualty’s chest and stomach to see if it is rising and falling. Take no more than 10 seconds to assess breathing.
Step 1 – If there is a bystander , ask them to call 999/112. If you are alone and have a mobile phone, call 999/112 and put your mobile on loud speaker so that you can talk to the operator while performing chest compressions.
Step 2 – If you are alone and you do not have access to a mobile phone start CPR (as described below) for one minute. If the casualty does not show signs of life after one minute leave the casualty to find a phone and call the emergency services.
Step 3 – The ambulance call handler will tell you where the nearest automated external defibrillator (AED) is. If someone is with you, ask them to fetch it and bring it back.
How do you give rescue breaths and perform chest compressions?
Step 1
Open the airway as described above. You should pinch the casualty’s nostrils closed with your finger and thumb, gently pull down on the casualty’s chin to open their mouth, seal your mouth over the casualty’s mouth and blow steadily for 1 second or until you see the chest rise. You should give five initial rescue breaths
Step 2
To perform chest compressions, kneel by the casualty and put the heel of one hand in the centre of the child’s chest. One hand should be sufficient to achieve a depth of 5cm or a third of the child’s chest depth. Give 30 chest compressions at a rate of 100-120 beats per minute. The beat of the song ‘Staying Alive’ can help you keep within this range.
Step 3
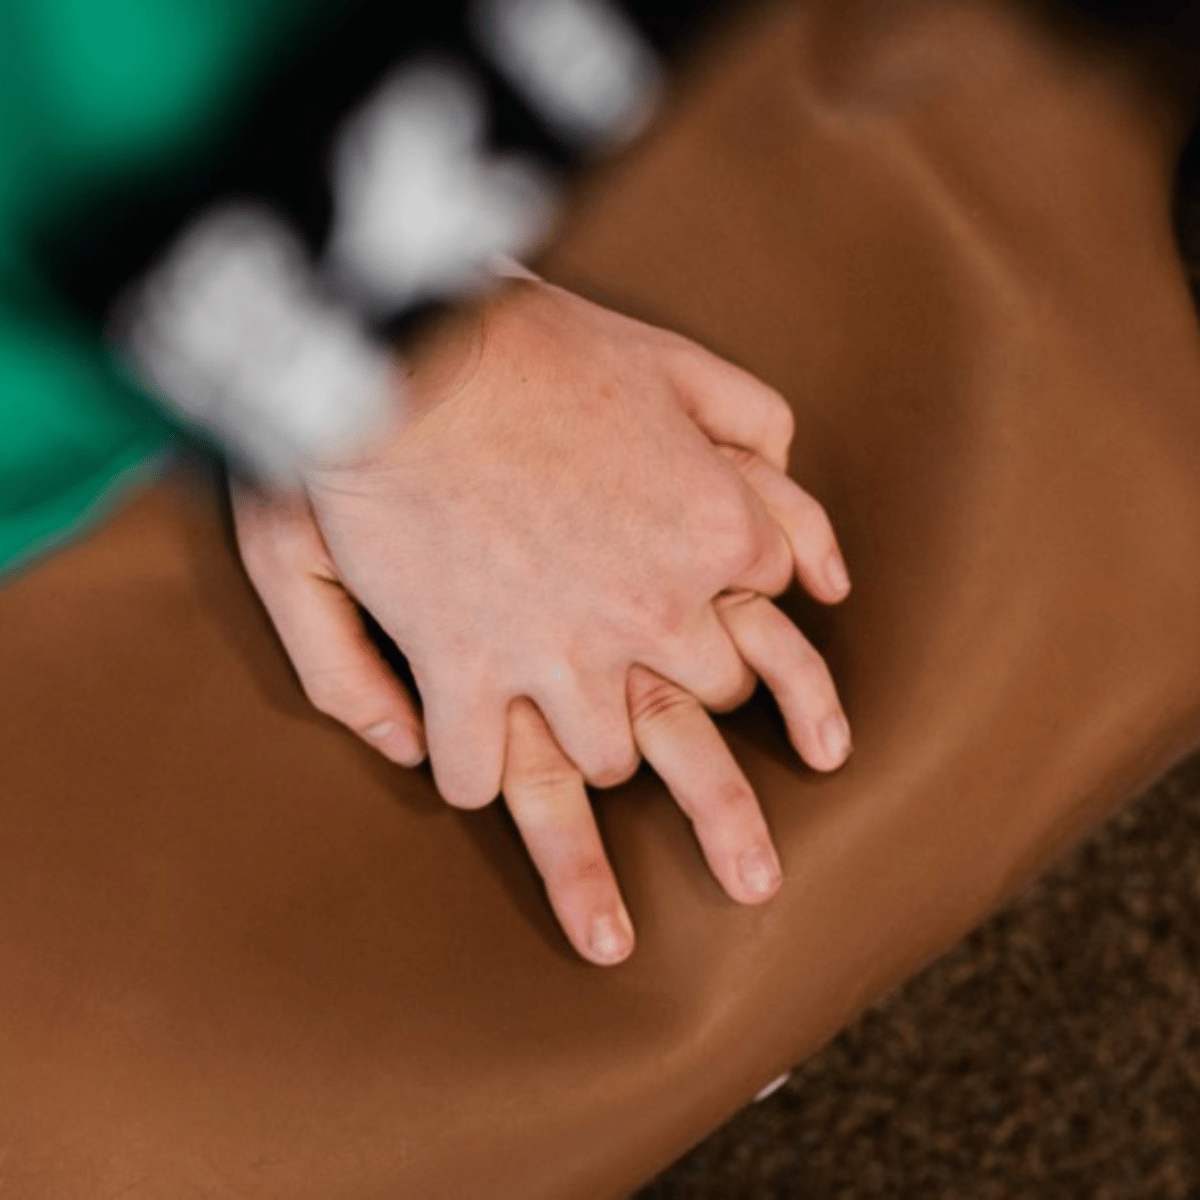
If you are unable to achieve the 5cm depth with one hand, use two hands by placing your other hand on top of the first. Interlock your fingers, making sure they don’t touch the ribs. Keep your arms straight and lean over the casualty. Press down hard, to a depth of about 5cm before releasing the pressure, allowing the chest to fully recoil.
Step 4
Following 30 chest compressions, give two rescue breaths if you are willing and able. If you are unwilling or unable to give rescue breaths, perform chest compression only CPR, as this is better than nothing. Push down hard and then release twice per second, and don’t stop. Ideally, rescue breaths combined with chest compressions are most effective.
Step 5
Continue giving 30 chest compressions followed by 2 rescue breaths and continue until:
Further qualified assistance arrives and takes over, the casualty starts to show signs of life (breathing, talking), you become tired and need to swap with another bystander or a defibrillator is ready to be used.

Do you know we offer a Schools First Aid Course?
Explore our range of hands-on training courses and learn valuable new skills.